from $3,900 · 3 to 6 days
Backsplash and tile
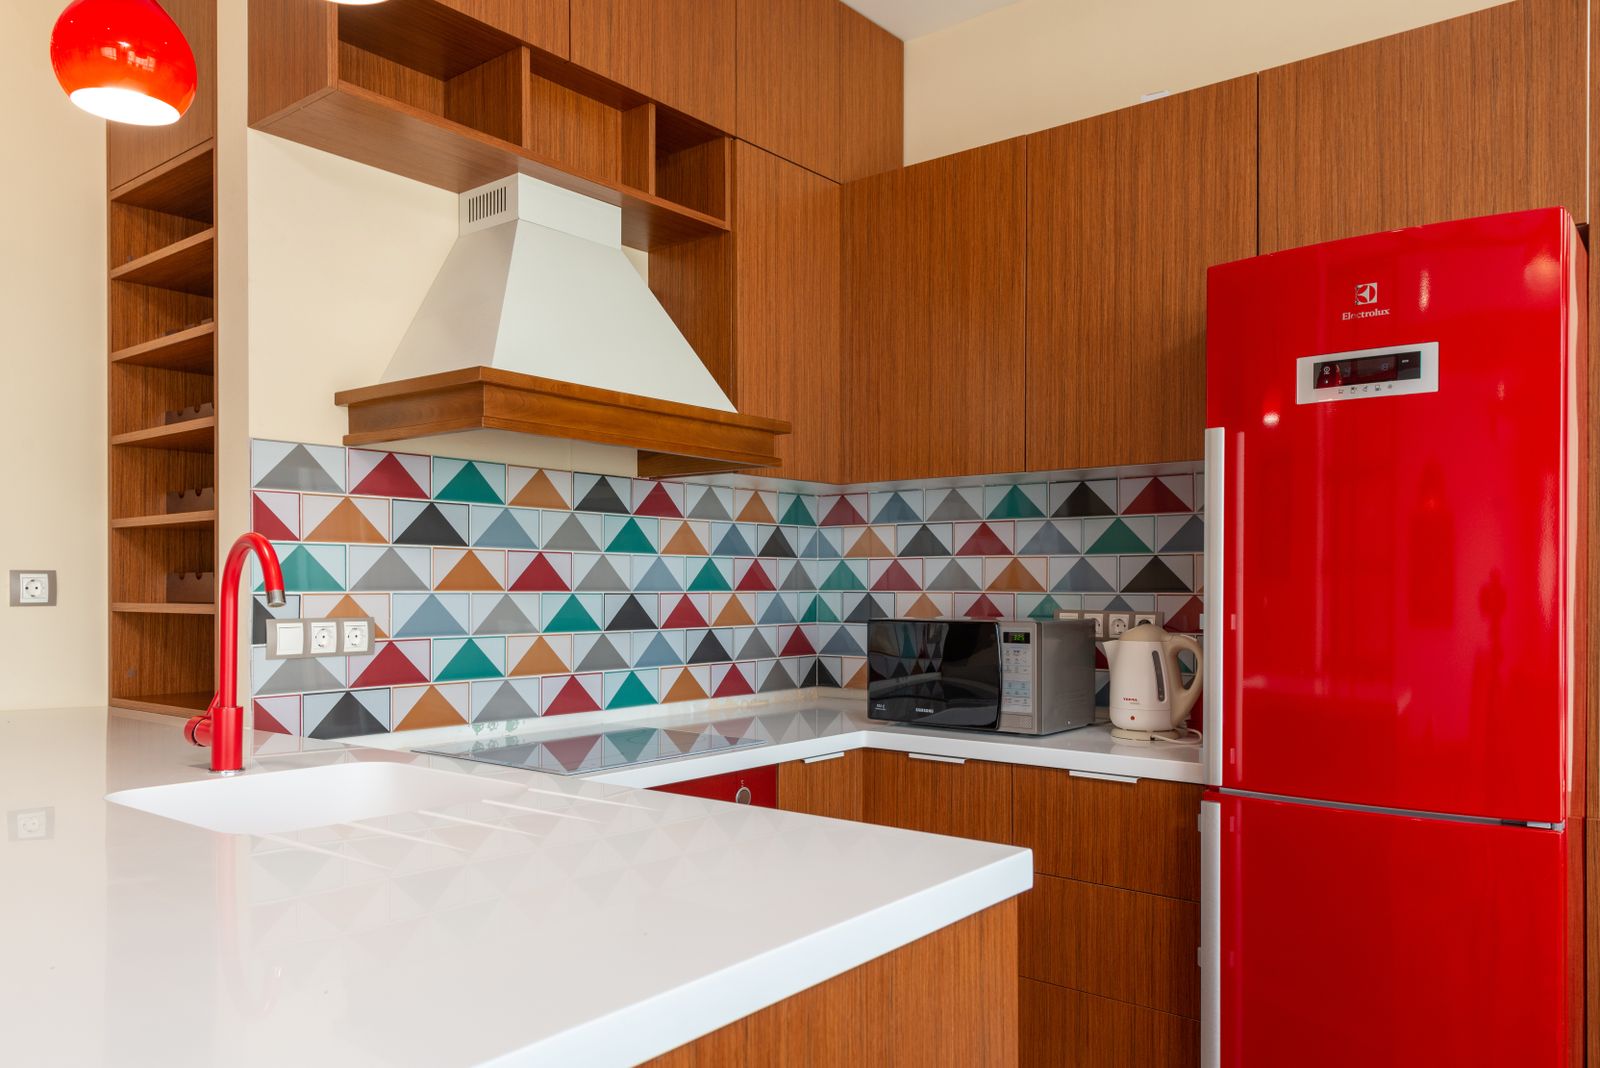
Set-out, pattern waste, outlet alignment and the edge detail.
01
The honest version
What this actually is
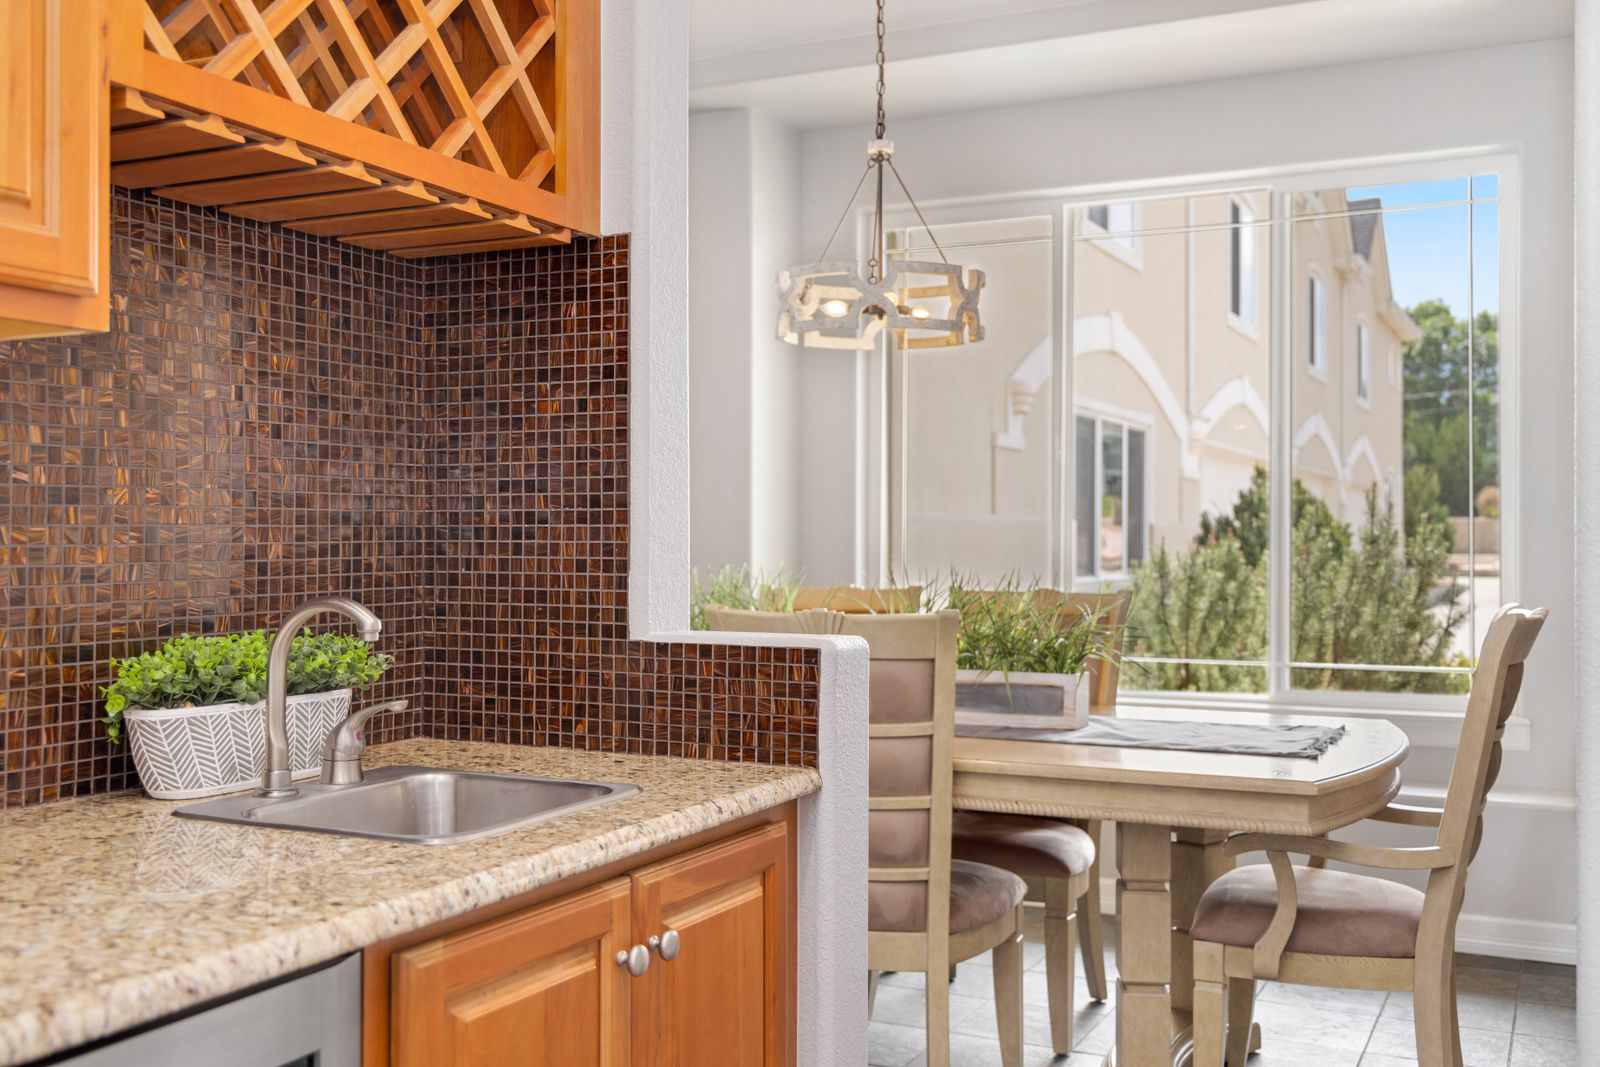
A backsplash is a small area with a large number of decisions. Where the first full tile starts, how the pattern meets the hood, what happens at the outlets and how the field terminates at an open end are what separate a tidy wall from a busy one.
We draw the set-out before ordering. That drawing decides the waste factor, and the waste factor decides how much tile to buy.
02
Line by line
What is included
Set-out drawing
Centre lines struck from the range, the sink or the hood, so cuts land at the ends rather than in the middle of the view.
Substrate preparation
Walls skimmed flat before tiling. A 3mm hump in a wall becomes a lipped joint in a stacked pattern.
Outlet and switch alignment
Device boxes moved a little where needed so plates land on a grout line or centre in a tile, never half on a cut.
Pattern and waste allowance
10 percent for a straight stack, 15 percent for running bond and 20 percent or more for herringbone and other mitre-heavy patterns.
Grout specification
Joint width matched to the tile: 1/16 in for rectified porcelain, 1/8 in for handmade zellige. Sanded, unsanded or epoxy chosen by joint and material.
Edge termination
Mitred returns, a metal trim profile or a bullnose, decided on the drawing rather than at the wall.
03
Where the number moves
What changes the price
- 01
Pattern complexity
Herringbone at 45 degrees doubles the cut count and roughly doubles the labour hours of a straight stack over the same wall.
- 02
Tile format
Large-format slabs need a levelling system and two installers. Zellige needs a tolerant eye and a wider joint.
- 03
Wall flatness
Old lath or a poorly floated wall has to be skimmed first. That is a day and a material line you do not see in the finished photo.
- 04
Special terminations
Mitred outside corners and a windowsill return in the same material are slow, careful work.
Why clients choose it
- Cuts land where the eye does not, because the set-out says so.
- Outlet plates land on lines, not across them.
- The right amount of tile ordered once, from one dye lot.
- An edge detail chosen on purpose.
04
How it runs
The stages this service passes through
- 01
Consultation 90 minutes
At your kitchen or the studio. We measure, photograph and talk about how the room fails you now. You leave with a written scope direction and an investment band.
- 02
Survey and plan 2 weeks
A measured survey to the eighth of an inch, then a plan, four elevations and a first materials direction. This is where the aisles, the triangle and the elevation get decided.
- 03
Selections 2 to 4 weeks
Slab yard visit, cabinetry samples in your own light, hardware in your hand, appliance model numbers confirmed. Everything closes before demolition. Everything.
- 04
Contract and permit 2 to 3 weeks
Fixed price, dated milestones and a written schedule. We submit for permit under our own licence and handle the HOA package where one applies.
- 05
Demolition 3 to 5 days
Zip wall, negative air, floor protection and the temporary kitchen set up before anything comes out. Daily wipe-down of the route to the truck.
- 06
Rough-in 1 to 2 weeks
Plumbing, mechanical and electrical to our rough-in sheet, then inspection, then drywall. Blocking and box heights are set now or not at all.
05
Straight answers
Questions about backsplash and tile
Not covered here?
Call the studio and speak to a designer, not a call centre. If we cannot answer it on the phone we will say so.
(480) 555-0204Read the full FAQTen percent for a straight stack, fifteen for running bond, twenty to twenty-five for herringbone, and always from the same dye lot. Overage is cheaper than a second order in a different batch.
Behind a range with a wall hood, running the field to the hood looks deliberate and cleans easily. Elsewhere, an 18 inch field between counter and upper cabinets is the standard and reads calmer.
Matching the tile makes the field read as one surface. Contrasting grout makes the pattern the feature. Choose that before you choose the tile, not after.
We tile to the cabinet, not behind it. If the uppers are coming out later, tell us now and we run the field full height so a future change does not leave a bare stripe.
06
Often specified together
Related services

Book the survey. Get the drawings.
Ninety minutes at your kitchen, a measured survey and a written scope direction you can act on with or without us.
Design fee credited against your project. Consultations booking 3 to 4 weeks out.